
StatusPath Reports Documentation
StatusPath Reports helps Jira Cloud teams understand how long work items spend in workflow statuses, how often they move through statuses, who they were assigned to, and where delivery work is slowing down.
In these docs, “work item” means the Jira record historically called an issue. Jira permissions still decide which work items and history each user can report on.
Start with the main report page
Choose a report type, select a work item scope, review the table or chart, then save or export the result.
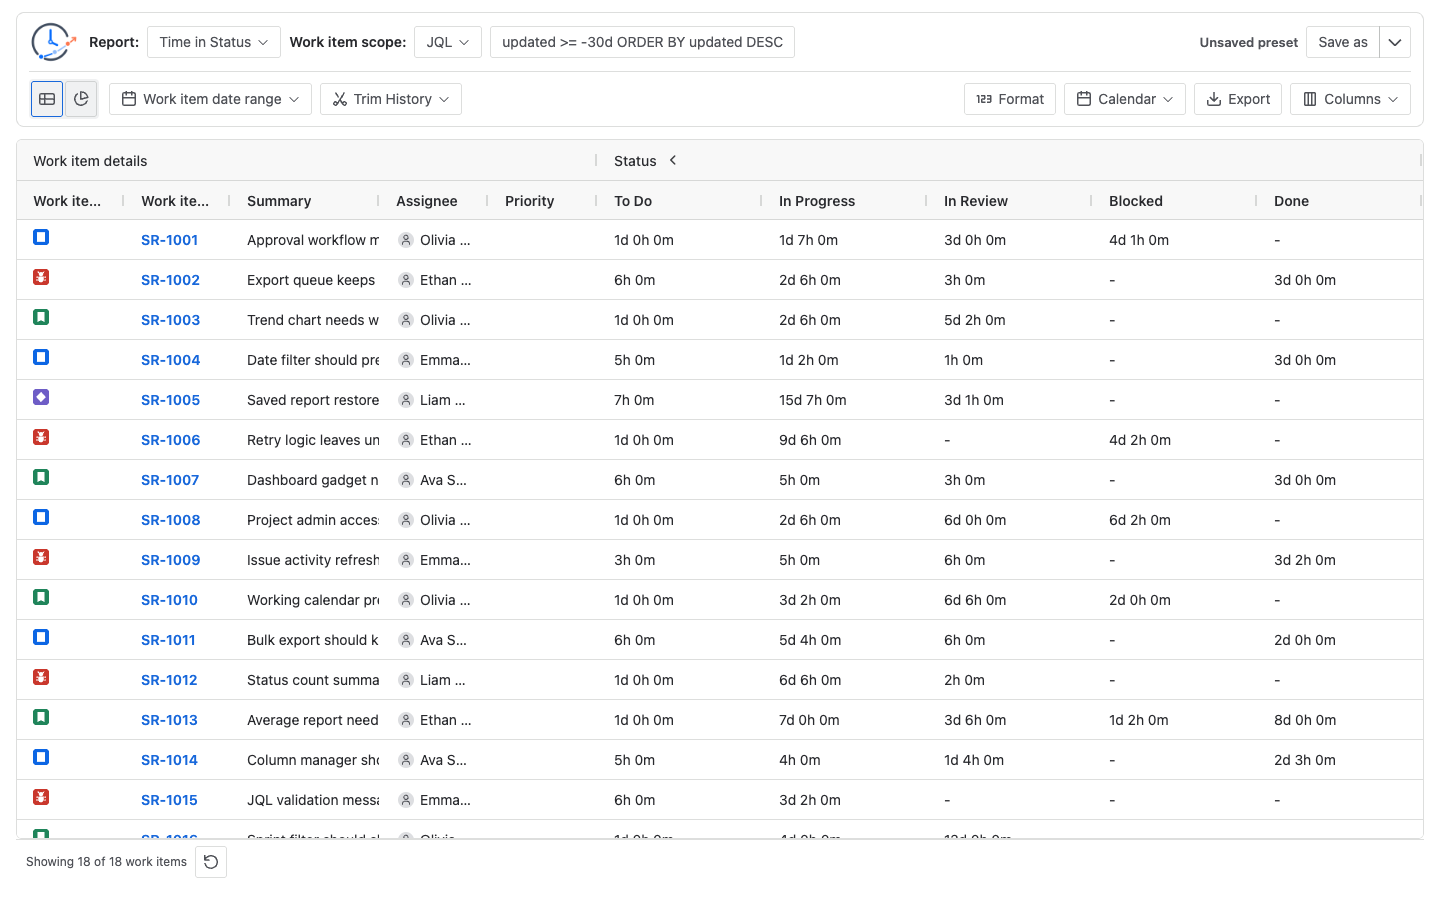
Start here
- Getting started - run a first Time in Status report.
- Installation - install the Jira Cloud app and check access.
- Report setup and scope - choose report scope, date range, and Trim History.
- Report types - pick the right analysis for your question.
- Table view - read rows, values, sorting, and filters.
- Columns and grouping - manage fields, status groups, and assignee groups.
- Chart view - review bottlenecks and trends.
- Calendars and duration - understand Format, Calendar, business hours, and duration calculations.
- Saved reports - save and restore reusable report setups.
- Export - export table results as CSV or XLSX, and understand chart export.
- Dashboard Gadget - show a compact report on a Jira dashboard.
- Issue Activity - inspect the current Jira work item.
- FAQ - troubleshoot common questions.
- Support - contact BlueGrove Labs.
Main workflow
- Open StatusPath Reports in Jira.
- Choose a report type.
- Choose a work item scope such as Project, Filter, JQL, Sprint, or Epic.
- Set Work item date range if you need to limit which work items enter the report.
- Set Trim History only if you want the calculation to use a smaller history window.
- Review the table or switch to charts.
- Save the setup or export the result when you need to reuse or share it.
What is included
The help center covers the main report page, report types, data sources, filters, table columns, charts, duration settings, saved reports, exports, Issue Activity, Dashboard Gadget, permissions, FAQ, and support.
Important limits
- StatusPath Reports is for Jira Cloud.
- Jira permissions still decide which work items the current Jira user can see.
- Results can differ from other apps when calendars, date ranges, history trimming, status grouping, or report definitions differ.
- Saved reports store setup. They do not freeze Jira work items, changelog history, or exported files.